Friday 23 February 2018

TMWWBK - Sudan Battle Report

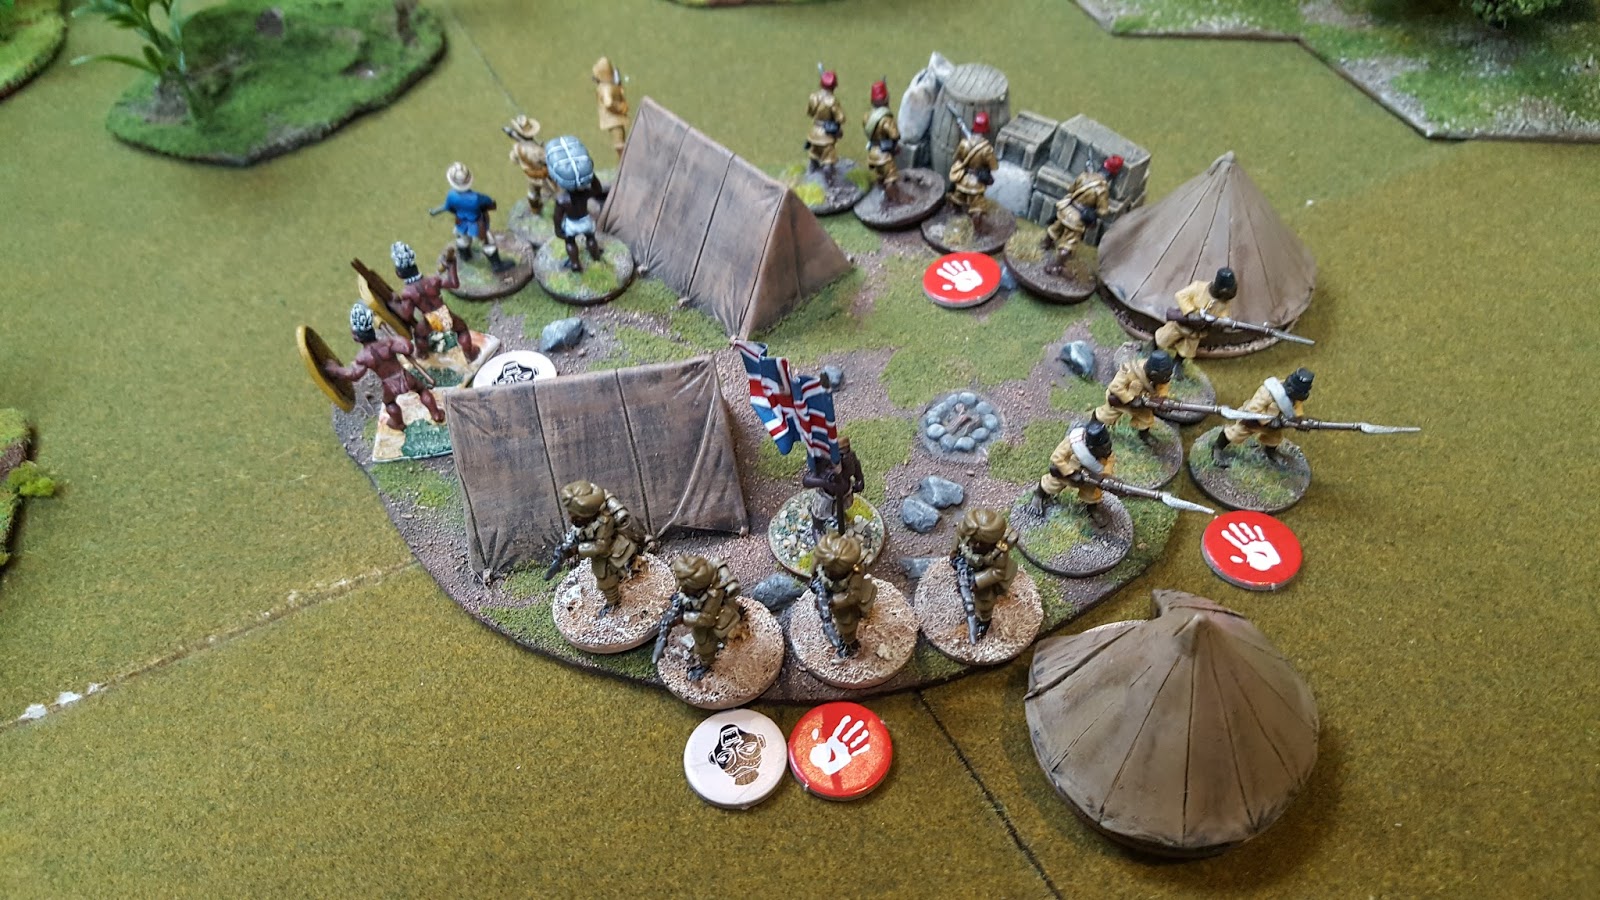
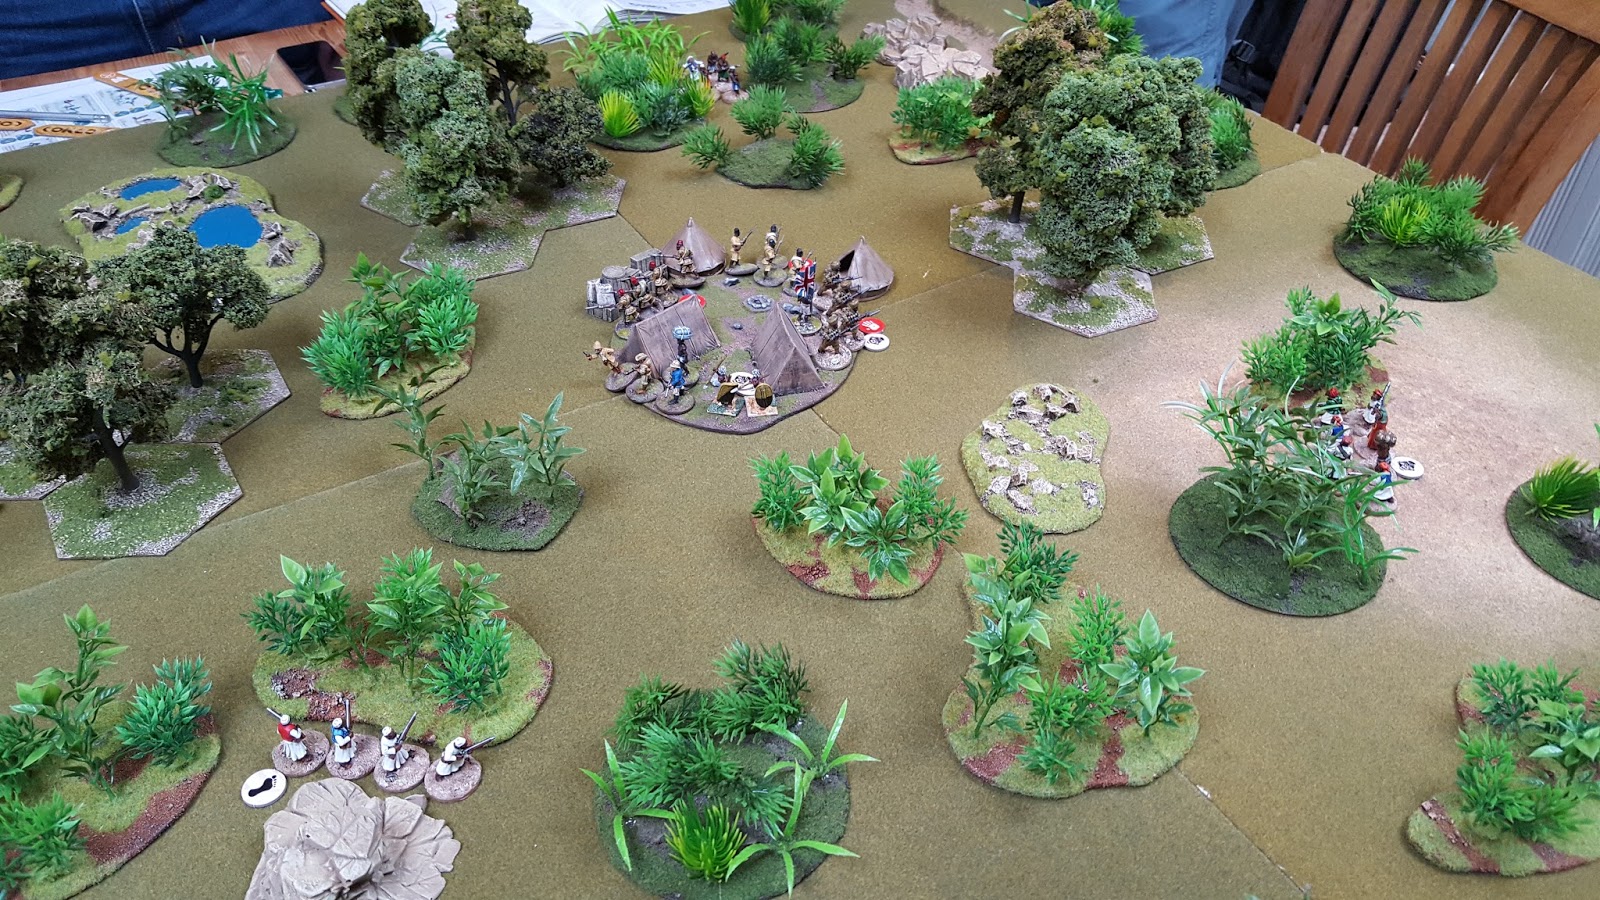
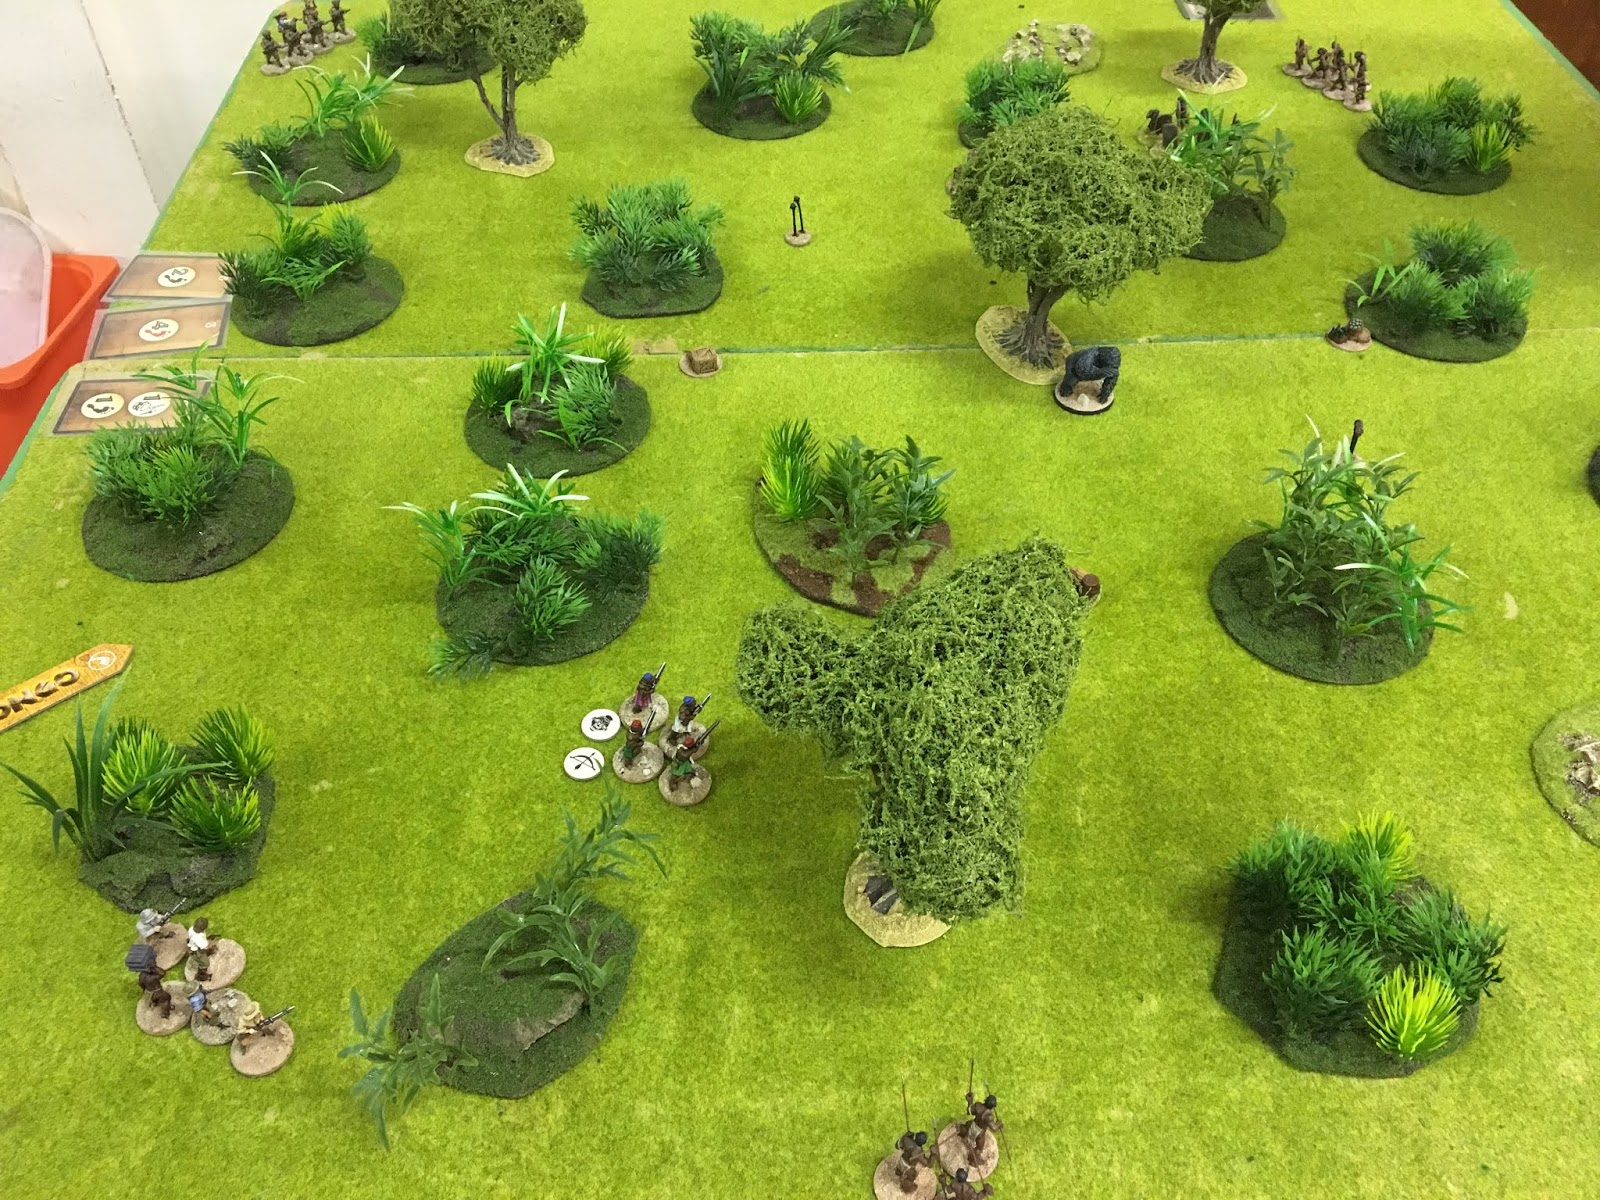
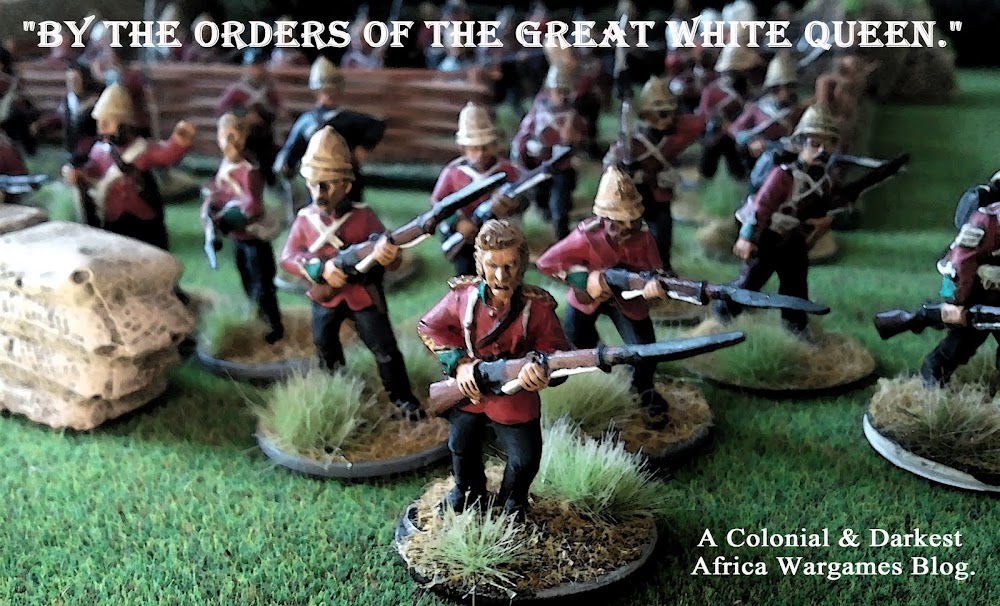
The British advancing on the village
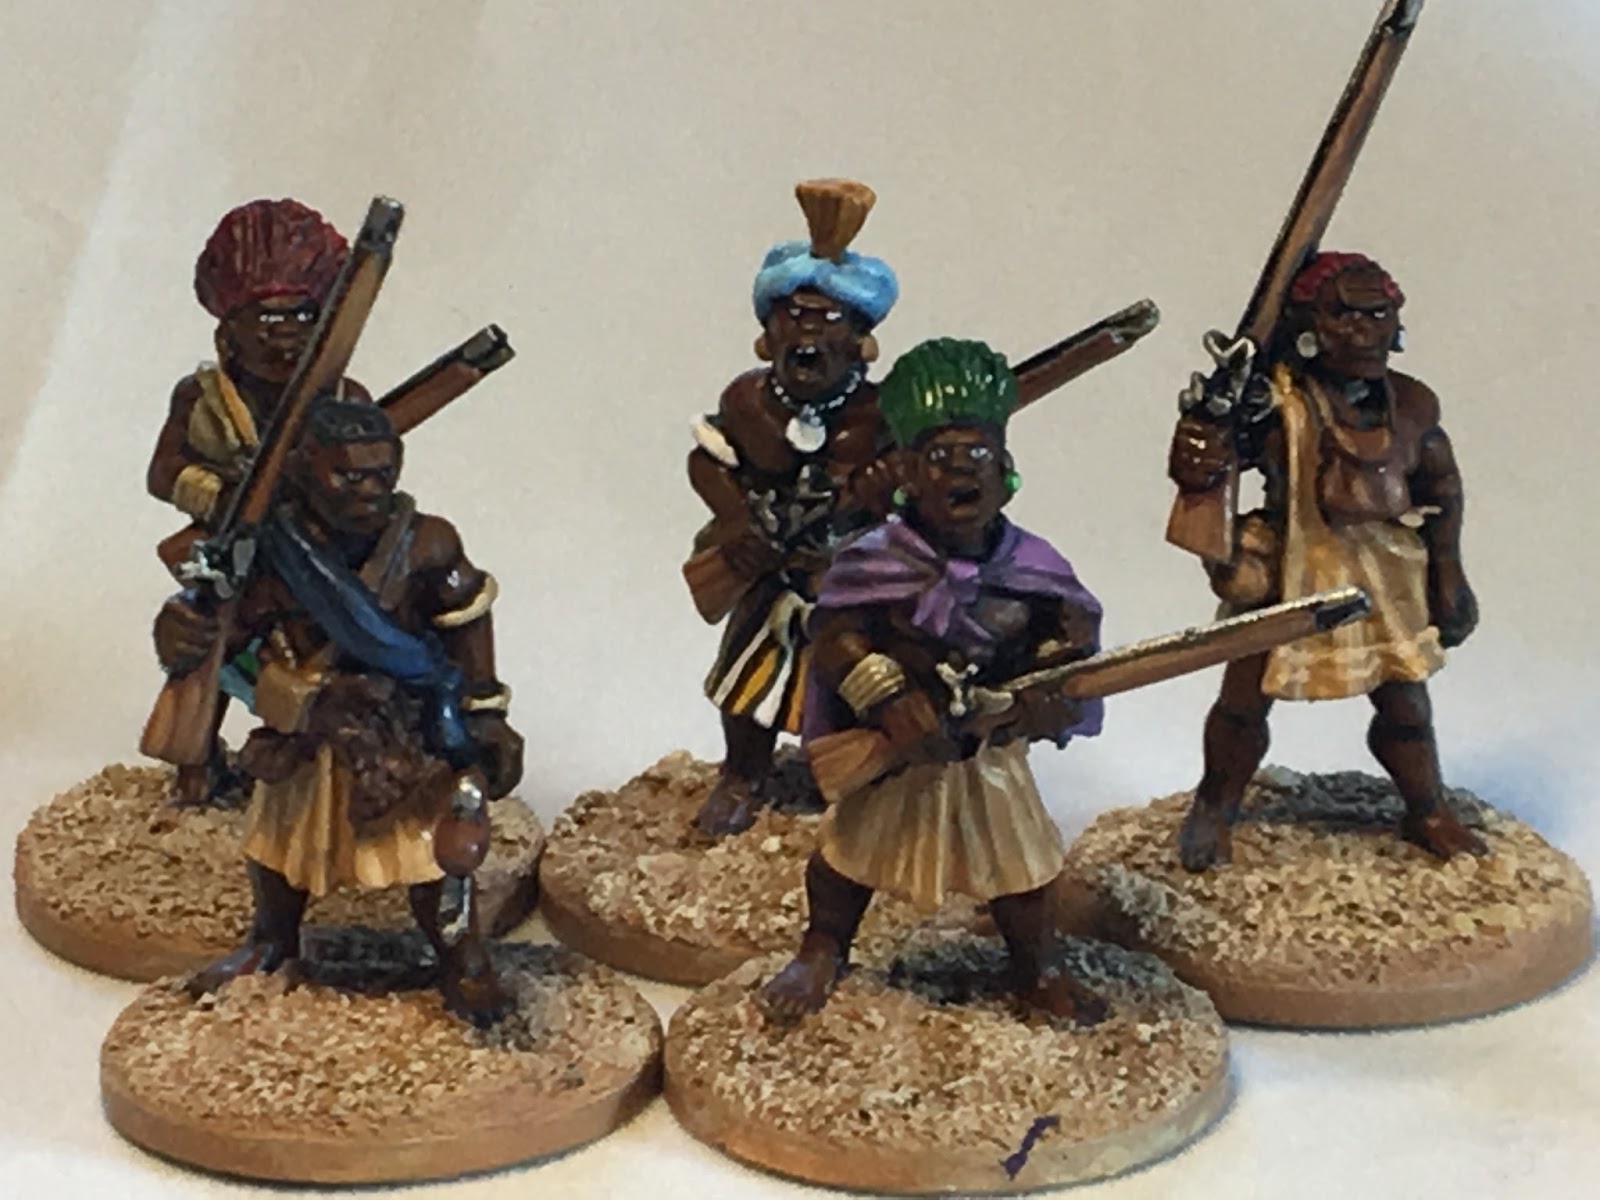

A battle report of a recent TMWWBK game can be found at Robafetts site

Friday 26 January 2018

Recent Congo Paint Work

Ruga Ruga Unit

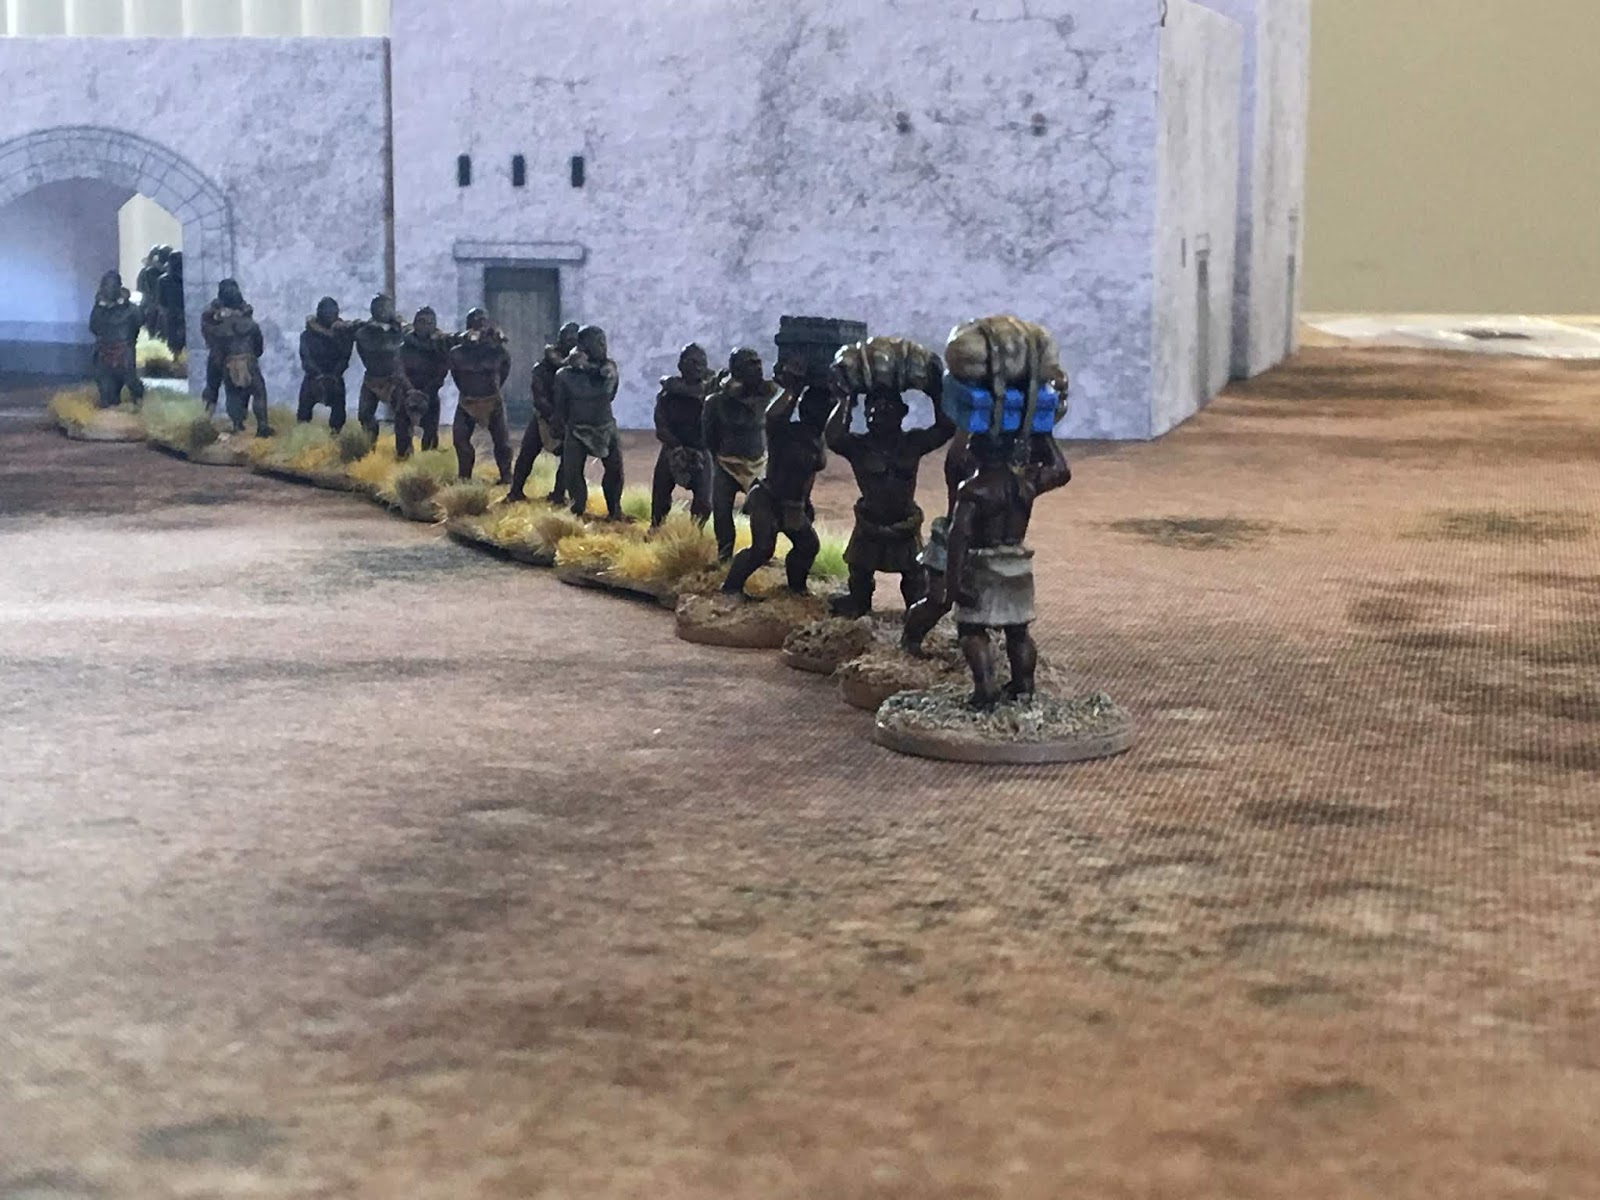
All the Ruga Ruga, a total of 20
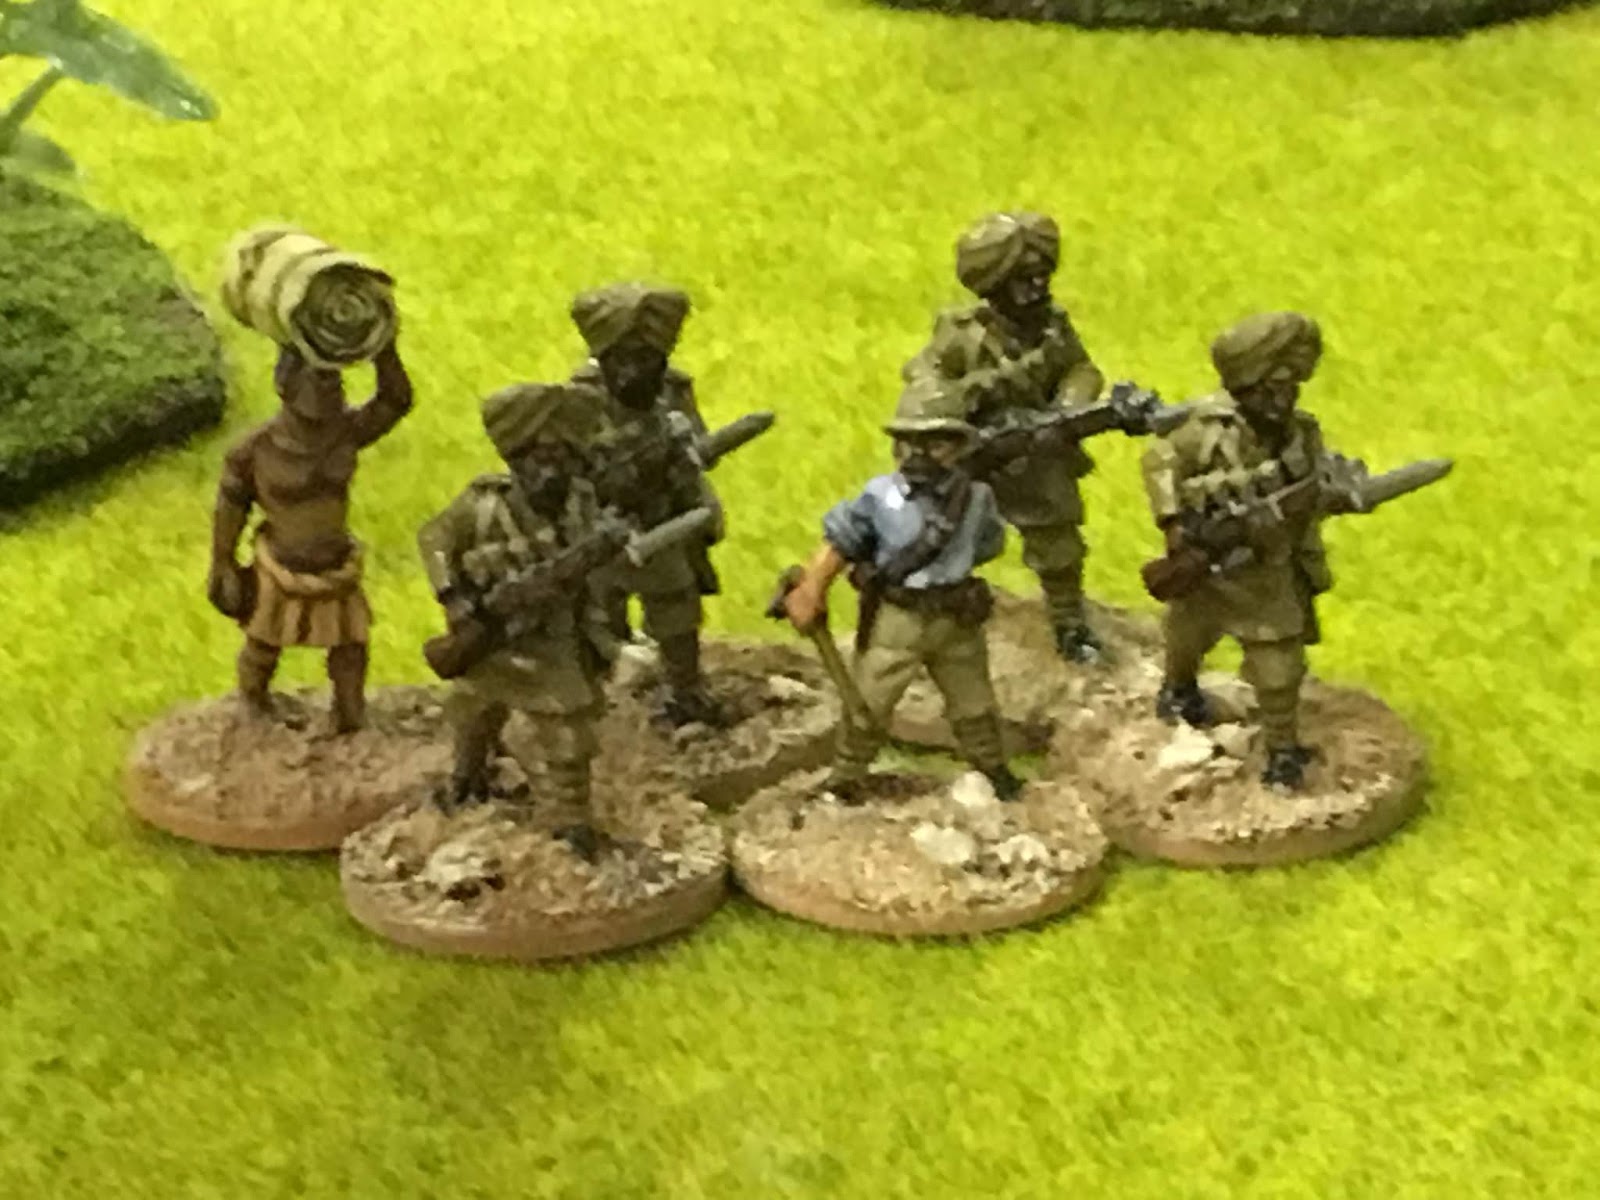
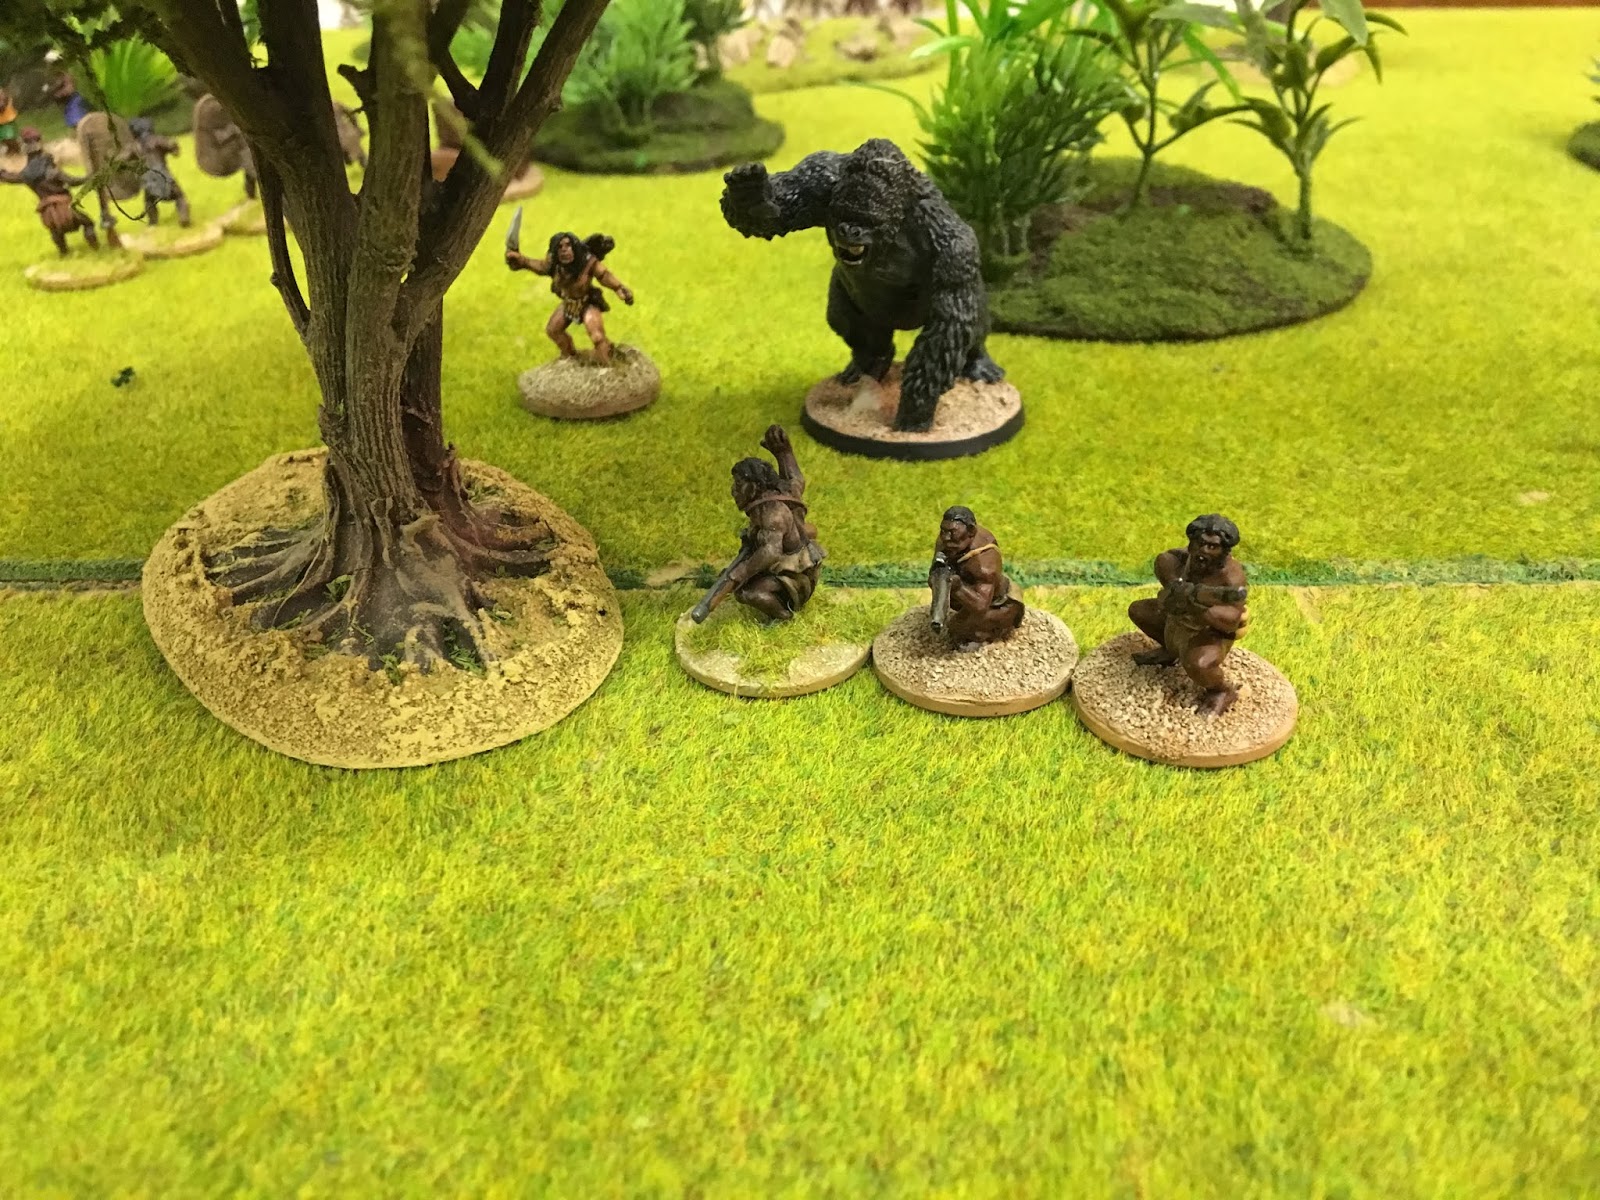
Two units of scouts
Spear armed Scouts

Musket Armed Scouts

Special Characters

Standard Bearer
Drummer
 
Chiefs  Daughter

Unit of 6 Archers


Thursday 26 October 2017

The Men Who Would Be King - Playtest

Last night I play tested The Men Who Would be King (TMWWBK) rules from Osprey.

For a first game they ran very smoothly with only a few questions:-

Can you double, charge or move from heads down?
Is there a minimum unit size for breaking?
Is it cumulative casualties for pinning? (I doubt it)
Why doesn't everyone move at double, given the extra D6 movement bonus?
Should there be a charge bonus, or an attacking in rear modifier?
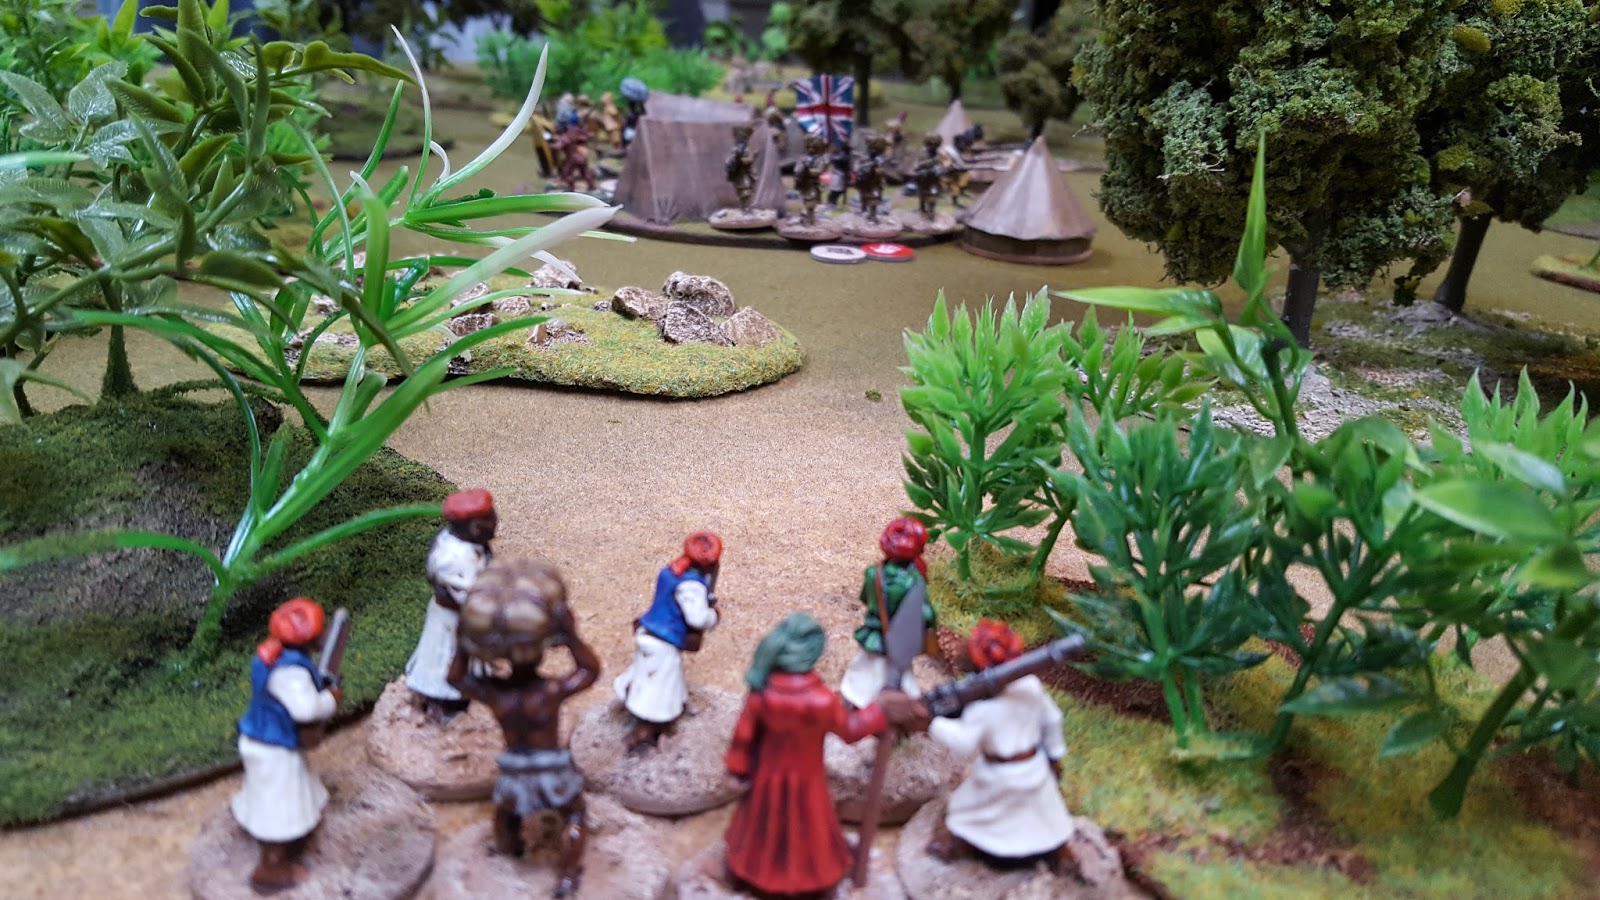
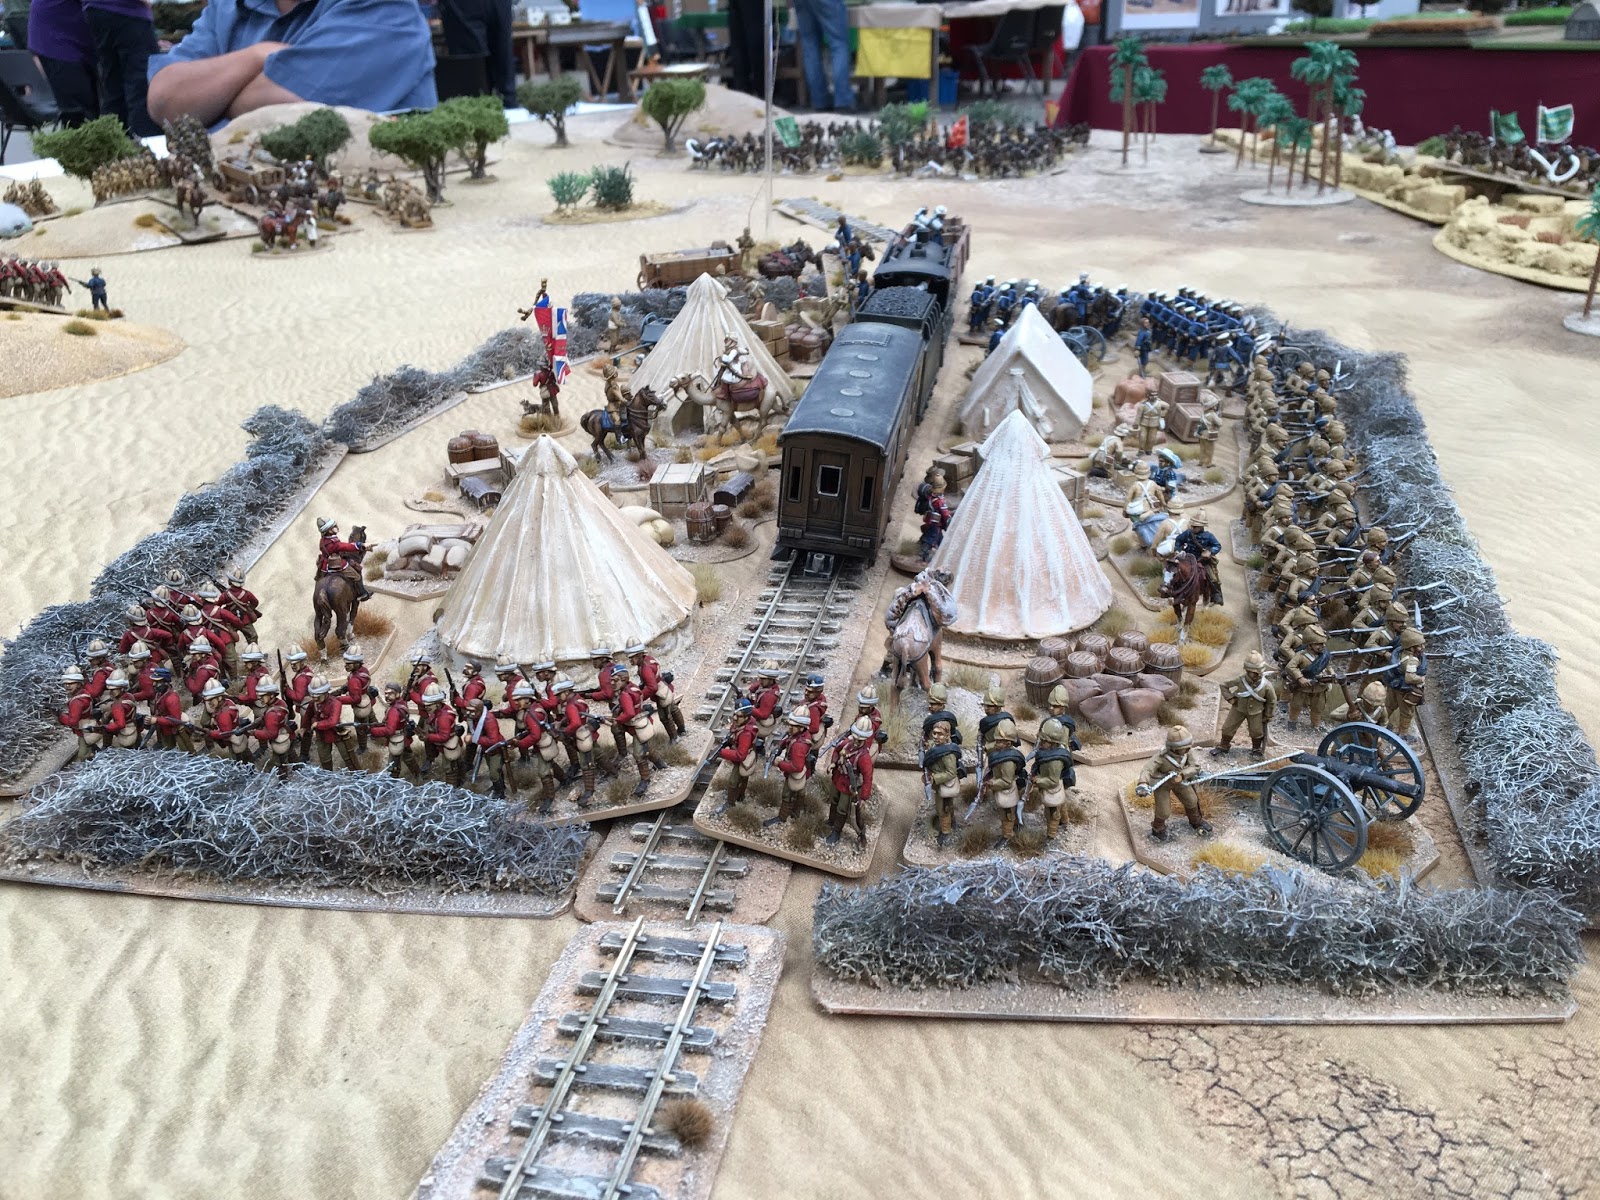
The British Advance fleeing from a previous defeat

Dervish Camel head to cut off the redcoats 

Half shot to pieces unit hides behind the wadi

The mid day sun saps their strength

Lancers impact the failed rear attack of the White Flag unit

Friday 30 December 2016

Congo - The Last Queen of Aksoum (Adventure 2).


Played two games of the excellent new Darkest Africa game Congo: Adventures in the Heart of Africa.

This was the second game of the day. For the first game go to Adventure 1.

Once again, this was essentially a (slightly) modified version of "The Last Queen of Aksoum" from the scenario bulletins.

We played this as a 4-player game, with 2 on each side. This time Robafett and I took the Zanzibari with Andrew and Chris taking on the British contingent.

The scenario essentially entails a hardy group of British explorers and their allies having to escape the table carrying a prized artifact. A Zanzibari group plans to stop them and take the artifact for themselves.


As we were more used to the rules and the various tricks and cards available (particularly the use of stress tokens) this game was a much tighter affair. The British used a similar tactic of leaving a rear guard (in a very pretty firing line) which did well in holding back a large part of the Zanzibari force. On this occasion the main 'White Explorer' group (i.e. the Adventurers and the lead Explorer Lord Huntingdon) tried to flee through several distracting moves but were ultimately caught out and exposed. The Adventurers were slain to a man and the sole survivor (Lord Huntingdon) tried to escape on his own. Alone and terrified he almost managed to escape but as can be seen in the last pictures, various cards and stress tokens were played on him and he ultimately fell to his knees in desperation and raised his pistol to his head...he has not been seen since.


Figures from Wargames Foundry and Copplestone Miniatures owned and painted by Andrew and myself. Terrain and scenery by Andrew and Chris.